Microsuction Procedure Guide for Safe Ear Wax Removal
- Jan 3
- 7 min read
Updated: Jan 16

Every british parent knows the frustration of waiting weeks for urgent ear care through the NHS while their child struggles with muffled hearing or discomfort. For families in Glasgow and Edinburgh, quick action matters when ear wax causes distress or disrupts daily life. Microsuction offers a safe, immediate solution trusted by healthcare professionals, helping you bypass long waits and restore your child’s comfort with confidence and expert care.
Quick Summary
Key Point | Explanation |
1. Assess symptoms for ear wax | Common signs include fullness, muffled hearing, and itching. Document symptoms for professional diagnosis. |
2. Prepare for microsuction | Ensure hygiene by sterilising equipment and obtaining informed consent. Patient comfort and clarity are crucial. |
3. Positioning enhances safety | Correct positioning allows for optimal access to the ear canal and reduces discomfort during the procedure. |
4. Microsuction is precise | This method uses a fine suction probe for effective wax removal with minimal discomfort, lasting 15-30 minutes. |
5. Follow aftercare instructions | Guidelines include keeping ears dry and monitoring symptoms post-procedure; follow up if concerns arise. |
Step 1: Assess Symptoms and Confirm Wax Build-Up
Identifying whether you have an ear wax build-up requires careful assessment of specific symptoms that might indicate a blockage or impaction. Understanding these signs helps determine if professional intervention is necessary.
Typical symptoms suggesting ear wax accumulation include a feeling of fullness or pressure inside the ear, reduced hearing capacity, and occasional discomfort. Persistent ear wax impaction can lead to more serious complications such as pain, potential infection, tinnitus, and temporary hearing loss. Some individuals experience additional indicators like ear itching, occasional dizziness, or a buzzing sensation.
To confirm a potential wax build-up, pay attention to specific warning signs. These might include difficulty hearing conversations clearly, experiencing a constant blocked sensation, or noticing earwax discharge. If you are experiencing multiple symptoms consistently, scheduling a professional ear examination becomes crucial. Healthcare professionals can perform a detailed assessment using specialised equipment to definitively confirm wax accumulation and recommend the most appropriate removal technique.
Expert Suggestion: Keep a symptom diary documenting when and how often you experience ear-related discomfort to help healthcare professionals make an accurate diagnosis.
Here is a summary of common ear wax symptoms and their possible underlying causes:
Symptom | Possible Cause | When to Seek Help |
Fullness in ear | Wax impaction | If persistent or worsening |
Muffled hearing | Wax blocking canal | If not resolved in 2 days |
Itching or buzzing | Irritation from wax | If severe or accompanied by pain |
Dizziness | Wax pressing against eardrum | If frequent or intense |
Step 2: Prepare Patient and Sterilise Equipment
Successful ear wax removal begins with meticulous preparation and maintaining strict hygiene protocols. This critical stage ensures patient safety and prevents potential complications during the microsuction procedure.
Microsuction must be performed by trained professionals using stringent sterilisation techniques.pdf) to minimise infection risks. Before commencing the procedure, our clinicians thoroughly sanitise all equipment and prepare a clean, controlled environment. This involves using medical grade disinfectants on microsurgical tools, wearing appropriate personal protective equipment, and ensuring the examination area meets rigorous healthcare standards.
Patient preparation involves obtaining informed consent, reviewing medical history, and explaining the entire procedure transparently. We carefully assess individual patient suitability, considering factors like ear canal anatomy, previous medical conditions, and potential contraindications. Patients are positioned comfortably, with proper lighting and support to facilitate a smooth, safe ear examination and wax removal process.
Expert Suggestion: Wear loose, comfortable clothing and avoid using earphones or inserting anything into your ears on the day of your appointment to ensure optimal preparation.
Step 3: Position Patient for Optimal Access
Proper patient positioning is a critical component of a safe and effective microsuction ear wax removal procedure. Our clinicians carefully arrange each patient to ensure maximum comfort and precise ear canal access.
Patient positioning involves strategic placement to allow direct and stable access to the ear canal. We typically recommend a seated or slightly reclined position with the patient’s head tilted to provide the optimal angle for examination and wax removal. This positioning helps minimise patient movement, reduces potential discomfort, and enables our healthcare professionals to perform the procedure with maximum precision and safety.
During positioning, we prioritise patient communication and comfort. Our clinicians will guide you through each step, explaining the ideal head angle and body positioning that allows for the most effective microsuction approach. We take care to support your neck and ensure you feel relaxed, as tension can make the ear canal less accessible and potentially complicate the wax removal process.
Expert Suggestion: Remain as still as possible during positioning and communicate any discomfort immediately to ensure a smooth and safe procedure.
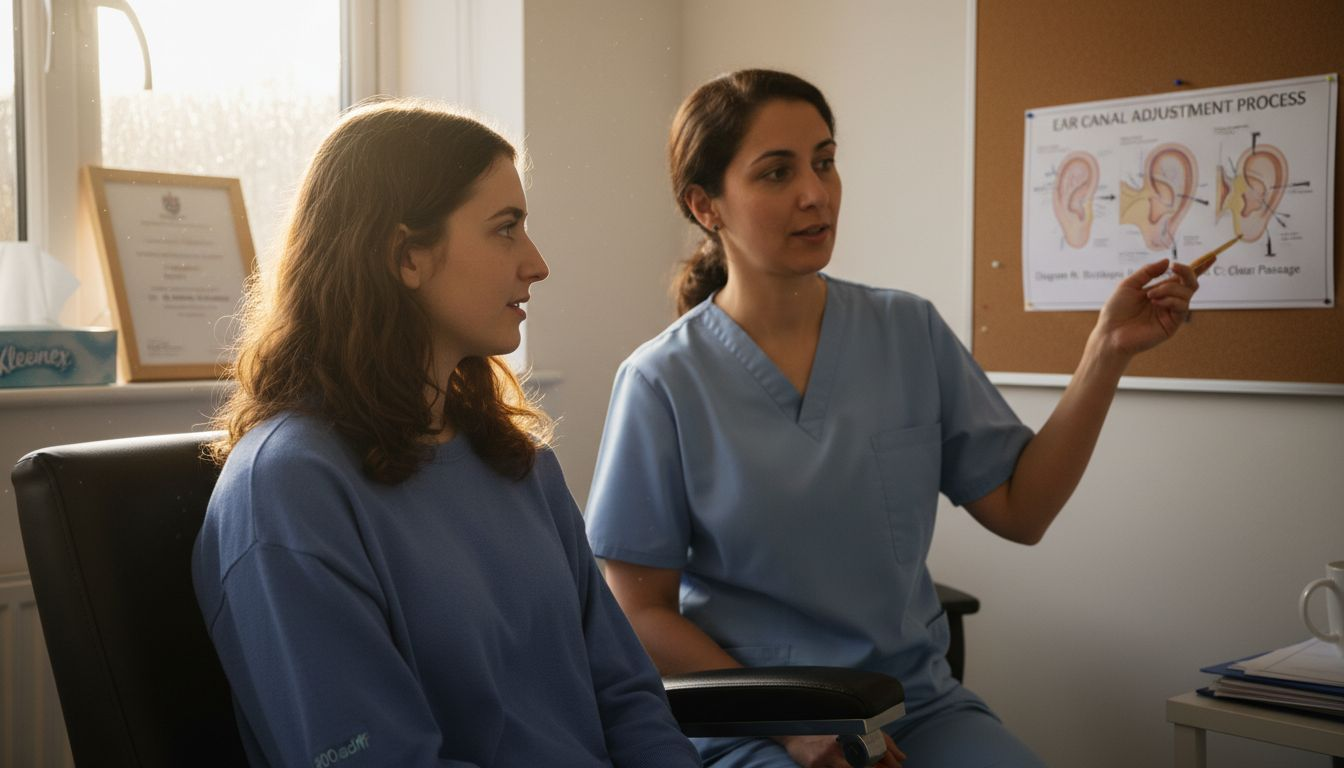
Step 4: Perform Microsuction to Remove Ear Wax
The microsuction procedure is a precise and sophisticated method for safely removing ear wax, designed to provide patients with a comfortable and effective treatment experience. Our clinicians employ advanced techniques to ensure minimal discomfort and maximum precision.
Under direct microscopic guidance, a fine suction probe is carefully inserted into the ear canal to remove wax without using water or pressure. This approach allows our healthcare professionals to visualise the entire ear canal throughout the procedure, ensuring we can monitor the ear’s health and remove wax with exceptional accuracy. The microscope provides magnified visualization, enabling our clinicians to navigate the ear canal’s delicate structure with remarkable precision.
During the microsuction process, patients may experience a slight sensation of suction or mild discomfort, which is entirely normal. Our trained professionals work meticulously to minimise any potential stress, explaining each step of the procedure and ensuring your comfort. The entire process is typically quick, with most ear wax removal sessions lasting between 15 to 30 minutes, depending on the extent of wax build-up and individual ear canal characteristics.
Expert Suggestion: Try to remain as relaxed and still as possible during the procedure, taking slow, deep breaths to help manage any minor discomfort.
Below is a comparison of traditional ear syringing and microsuction techniques:
Method | How it Works | Main Risks | Who Should Avoid |
Syringing | Flushing ear canal with water | Infection, eardrum damage | History of ear surgery |
Microsuction | Gentle vacuum under microscope | Rare discomfort, minor noise | Perforated eardrum |
Step 5: Verify Successful Wax Removal and Provide Aftercare
The final stage of microsuction involves carefully confirming complete wax removal and providing comprehensive aftercare guidance to ensure optimal ear health and patient comfort.
After microsuction, our practitioners meticulously inspect the ear canal and eardrum through the microscope to verify thorough wax removal. This detailed examination allows us to confirm that all problematic wax has been successfully extracted and that the ear canal appears clean and healthy. We assess the ear canal’s condition, checking for any signs of irritation or potential issues that might require additional attention.
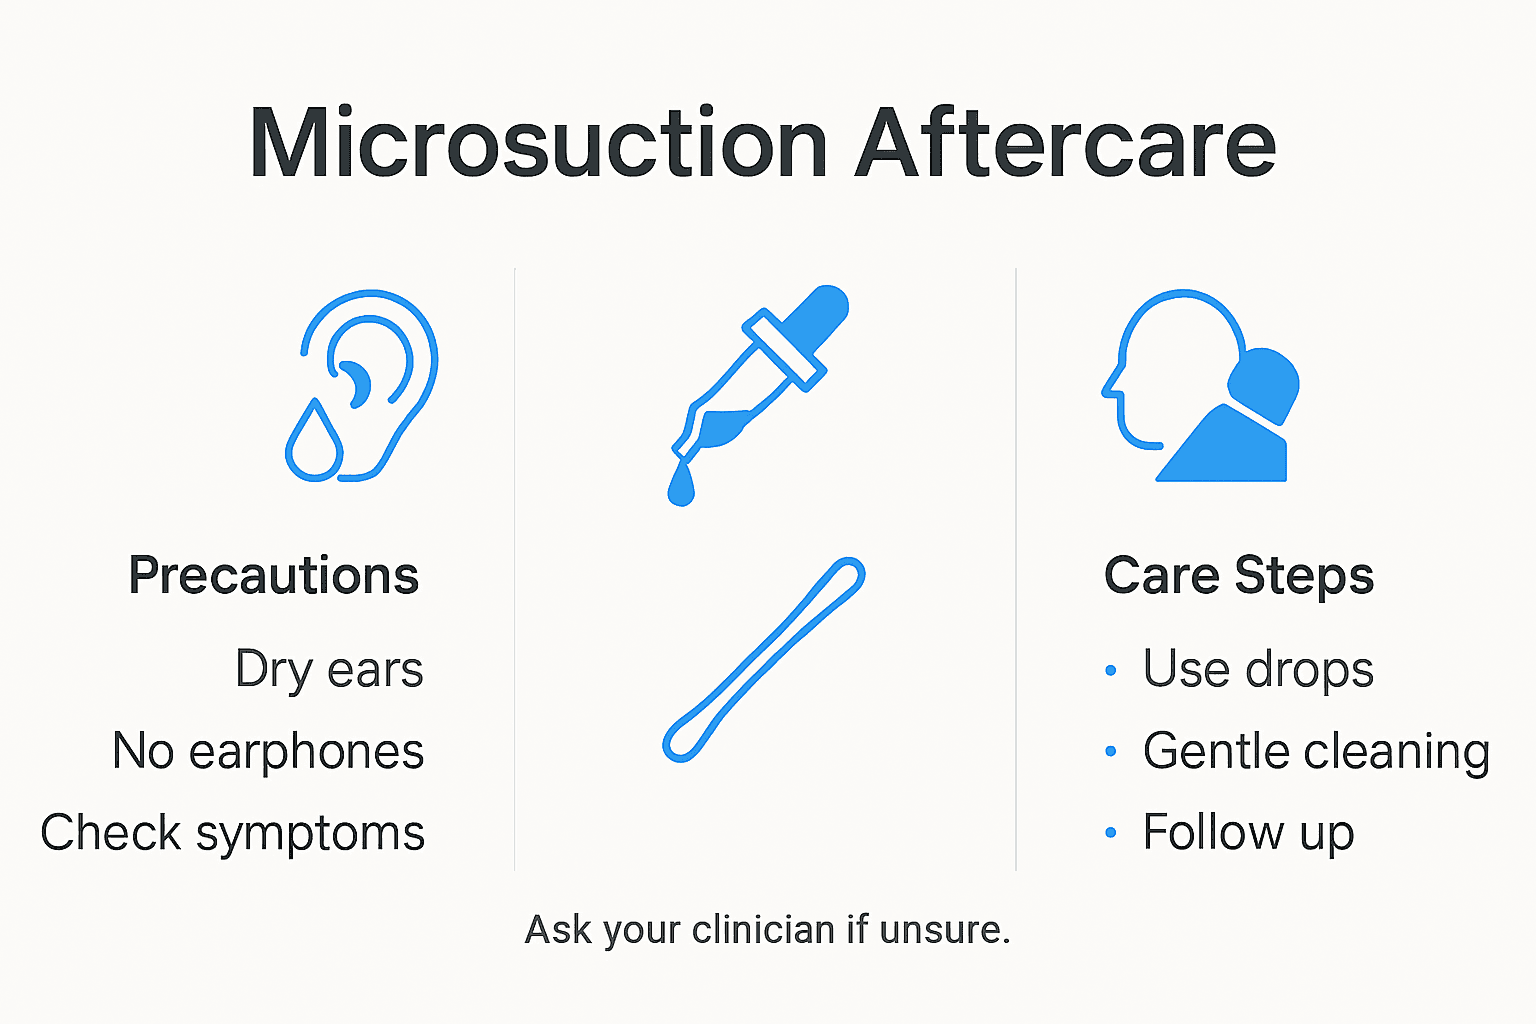
Following the procedure, our clinicians provide personalised aftercare instructions tailored to your specific ear health needs. These recommendations typically include avoiding water exposure in the ears for 24 to 48 hours, refraining from inserting any objects into the ear canal, and monitoring for any unusual symptoms such as persistent discomfort, discharge, or hearing changes. We schedule a follow-up assessment if necessary and provide direct contact information should you experience any concerns after the procedure.
Expert Suggestion: Keep your ears dry and avoid using earphones or hearing aids for at least 24 hours to allow the ear canal to settle after microsuction.
Experience Safe and Effective Ear Wax Removal with EARS Clinics
Dealing with ear wax build-up can be uncomfortable and worrying, especially when symptoms like fullness, muffled hearing, or dizziness arise as explained in the Microsuction Procedure Guide for Safe Ear Wax Removal. At EARS Clinics, we understand these challenges and offer expert microsuction services performed by NHS-accredited Aural Care Specialists who prioritise your safety and comfort. Our advanced techniques ensure thorough wax removal without the risks associated with traditional methods.
Take control of your ear health today by booking a same-day appointment or even a convenient home visit through our easy-to-use platform. With shorter waiting times and care tailored for all ages, including children and complex cases, you can trust EARS Clinics to provide outstanding ear care in Glasgow and Edinburgh. Visit EARS Clinics now to learn more about our services and schedule your appointment for professional ear wax removal with confidence.
Frequently Asked Questions
What are the symptoms of ear wax build-up?
Identifying symptoms of ear wax build-up includes feeling fullness in the ear, reduced hearing, discomfort, and even dizziness. If you experience multiple symptoms consistently, consult a healthcare professional for a thorough examination.
How is the microsuction procedure performed?
The microsuction procedure uses a fine suction probe under a microscope to safely remove ear wax without water or pressure. Schedule an appointment with a qualified clinician who can perform this procedure in a clean, safe environment.
How should I prepare for my microsuction appointment?
Prepare for your microsuction appointment by wearing comfortable clothing and avoiding the use of earphones or inserting anything into your ears. Arriving relaxed will help ensure a smoother procedure.
What can I expect after the microsuction procedure?
After microsuction, expect to receive personalised aftercare instructions and check for any unusual symptoms like persistent discomfort or discharge. Follow the aftercare advice closely, and monitor your ears for 24 to 48 hours following the procedure.
Are there any risks associated with microsuction?
Microsuction generally poses minimal risks, such as slight discomfort or minimal noise during the procedure. However, if you have a perforated eardrum or recent ear surgery, inform your clinician to discuss alternative removal options.
How long does the microsuction procedure take?
The microsuction procedure typically lasts between 15 to 30 minutes, depending on the extent of the wax build-up. Plan to set aside enough time for the appointment, including post-procedure check-ups if required.
Recommended