Ear instrumentation explained: Safe, effective ear care
- May 4
- 9 min read
TL;DR:
Ear instrumentation is a precise, trained technique used for safe ear wax removal.
Use of proper tools and direct visual guidance minimizes risks and ensures effective removal.
Professional care is essential; do not attempt ear instrumentation at home to avoid injury.
Many people assume that removing ear wax is straightforward, perhaps something you can manage yourself at home with cotton buds or ear candles. That assumption is not only wrong; it can be genuinely dangerous. Ear instrumentation, the professional use of specialist manual tools to remove wax or examine the ear canal, is a skilled clinical procedure that requires trained hands, the right equipment, and proper assessment before anything goes near your ear. This guide explains exactly what ear instrumentation involves, which tools are used, what patients should expect in clinic, and why professional care is the only safe route.
Key Takeaways
Point | Details |
Manual tool use only by specialists | Ear instrumentation must be carried out by trained professionals for safety and effectiveness. |
Not suitable for DIY | Using professional ear instruments at home can cause injury or worsen issues. |
Differentiate methods | Ear instrumentation is distinct from microsuction and irrigation, each suited to different clinical scenarios. |
Safety first for children | Children need specialist care for ear procedures to minimise risk and ensure comfort. |
What is ear instrumentation?
Ear instrumentation refers to a category of manual techniques used by trained clinicians to remove cerumen (ear wax) or debris from the ear canal. It sits alongside other professional methods such as microsuction and irrigation, but it is distinctly different from both. Rather than flushing the ear with water or applying gentle suction, instrumentation relies on the skilled use of physical tools to locate, loosen, and extract wax, usually under direct visual guidance.
According to clinical guidance, ear instrumentation includes curettes, hooks, loops, ring curettes (also called wax hooks), alligator forceps, and probes. Each of these instruments serves a specific purpose depending on the type of wax, its location, and the patient’s ear anatomy.
Here is how instrumentation compares to the other main professional methods:
Method | Tool type | How it works | Best suited to |
Instrumentation | Manual instruments | Physical removal under direct vision | Impacted, dry, or complex wax |
Microsuction | Suction device | Gentle vacuum removes wax | Most wax types, including dry |
Irrigation | Water syringe | Controlled water flow flushes wax | Soft, mobile wax only |
Instrumentation is particularly valuable when wax is hardened, tightly packed, or situated in an area of the canal that cannot be reached effectively by water or suction alone. It is also chosen when patients have conditions that make irrigation unsuitable, such as a history of perforated eardrum. You can read more about the full range of approaches in our microsuction procedure guide and our detailed ear wax removal step by step resource.
“Manual instrumentation is not a one-size-fits-all approach. It is a targeted, skilled technique chosen when the clinical picture calls for it.”
The key difference with instrumentation is that it demands direct visualisation throughout, meaning the clinician always has a clear view of the ear canal and the wax, reducing the risk of accidental contact with the ear drum.
The instruments explained: Tools and their uses
Now that you understand what ear instrumentation is, it helps to know precisely which tools are involved and why each one exists. These are not improvised items. They are purpose-designed medical instruments, each selected according to the wax type and the patient’s ear anatomy.
Clinical guidance confirms that curettes suit soft cerumen, loops and hooks are used for hard cerumen, and forceps handle extraction of debris or larger wax deposits. Additionally, specialist instruments such as the ring curette are used for wax hook removal, while the serrated end can mop up discharge or debris in more complex presentations.
Instrument | Primary use | Wax/condition suited to |
Curette | Scooping and scraping | Soft, pliable cerumen |
Hook/loop | Hooking and dislodging | Hard, impacted wax |
Ring curette | Wax hook removal, mopping discharge | Discharge, mixed wax types |
Alligator forceps | Grasping and extracting | Visible debris, foreign bodies |
Probe | Examination and loosening | Complex anatomy, tight spaces |
The choice of instrument is never random. Clinicians select tools based on what the otoscope (a handheld device used to look inside the ear) reveals before anything touches the ear canal.
When is each tool most appropriate? Here is a useful summary:
Curettes are used when wax is soft and scoopable, making removal straightforward with minimal pressure.
Hooks and loops come into play when wax is dry and hard, requiring a different mechanical approach to dislodge it safely.
Ring curettes are particularly useful in ears that also have discharge, as the serrated tip can mop up fluid alongside wax.
Alligator forceps are chosen when a visible piece of debris or a particularly large plug needs to be grasped and removed in one piece.
Probes help in ears with unusual anatomy or when the clinician needs to gently explore a tight or narrow canal before committing to removal.
Pro Tip: Asking your clinician which instrument they plan to use, and why, is a completely reasonable question. A confident, trained professional will always be able to explain their reasoning based on your specific assessment findings.
Direct visualisation is not optional during instrumentation. Whether the clinician uses a standard otoscope or a binocular microscope, every movement is guided by a clear view of the canal. This is what separates professional instrumentation from any home attempt. For further reading on how safety is maintained, see our guidance on ear wax removal safety.

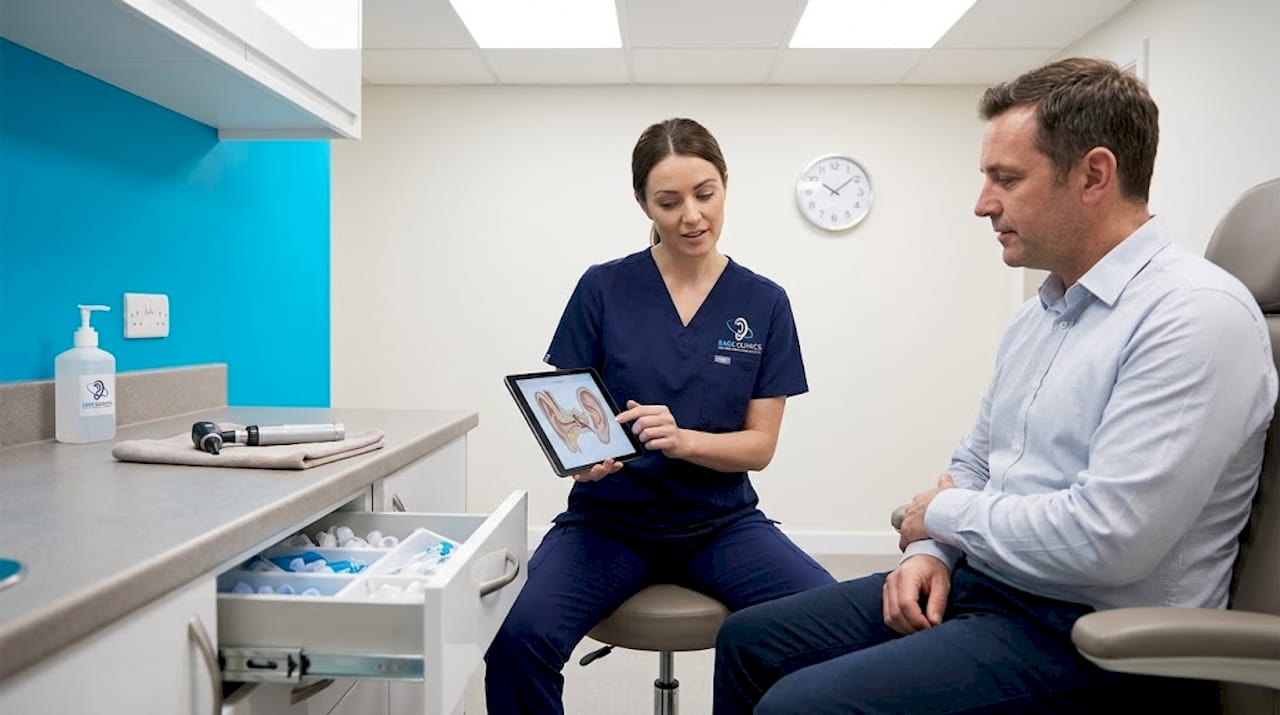
How does ear instrumentation work in clinic?
Understanding the instruments is useful, but knowing what actually happens during an appointment will help you feel prepared and reassured. The process is methodical, unhurried, and always tailored to the individual patient.
Here is a typical step-by-step outline of a professional ear instrumentation appointment:
Initial consultation and otoscopy. The clinician examines both ears with an otoscope before any treatment begins. This confirms the type and location of wax, checks for any contraindications, and guides instrument selection.
Patient history review. The specialist asks about ear surgery, infections, hearing aids, dizziness, or any previous ear problems. This shapes the treatment plan.
Consideration of cerumenolytics. In some cases, particularly when wax is very hard and impacted, the clinician may recommend a softening agent (cerumenolytic) used before or during the procedure to make removal easier and more comfortable.
Instrument selection. Based on assessment findings, the appropriate tool is selected. The clinician explains what they will do and what the patient may feel.
Wax removal under direct vision. Working through the otoscope or microscope, instruments scrape, hook, scoop, or grasp wax from the ear canal without water, maintaining constant visual control.
Combination techniques if needed. Sometimes instrumentation is combined with microsuction or a brief irrigation to clear any residual debris, depending on the clinical picture.
Post-procedure otoscopy. The clinician examines the ear again after removal to confirm clearance and check the condition of the canal and eardrum.
Clinical guidance is clear that pre-assessment with otoscopy is always essential, cerumenolytics should be considered for stubborn wax, and methods should be combined when appropriate. Critically, all of this must be performed only by regulated clinicians using proper equipment.
Studies suggest that mechanical removal is broadly as effective as irrigation across a range of wax presentations, though each method carries a different risk profile and suits different clinical situations. You can find information on how urgent cases are managed in our guide to urgent ear wax treatment workflow and our detailed overview of patient safety protocols.
Pro Tip: Never attempt ear instrumentation at home using tools purchased online. Even a slight deviation in angle or pressure can abrade the delicate skin of the ear canal or, in the worst cases, perforate the eardrum. The anatomy of the ear canal is curved and narrow, making visual guidance essential rather than optional.
Is ear instrumentation safe? Evidence, risks, and clinical guidance
Patient safety is, rightly, the central concern for anyone considering this procedure, particularly parents thinking about ear care for their children. The good news is that the evidence is broadly reassuring when instrumentation is performed by qualified clinicians.
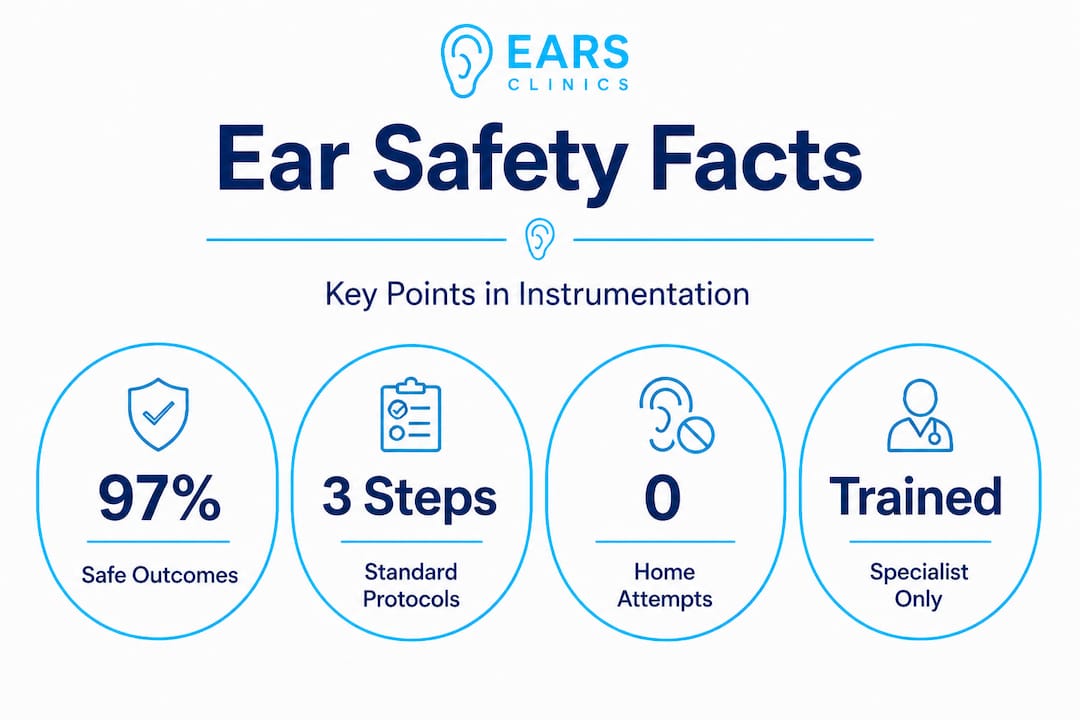
A systematic review of cerumen removal confirms that mechanical removal, which includes instrumentation, is effective and safe in expert hands. The review found no serious adverse events (harmful outcomes) reported across the studies examined, though minor risks such as mild irritation or temporary discomfort do exist. This is consistent with the clinical reality: in skilled hands, the procedure is well tolerated by most patients, including children.
The British Society of Audiology’s guidance confirms that manual instrumentation is safe in expert hands, particularly for edge cases such as impacted wax in children or urgent presentations, though microsuction is often considered the first-line method. Clinicians registered with the Health and Care Professions Council (HCPC) or similar regulatory bodies, and following ENT UK and British Society of Audiology (BSA) protocols, provide the standard of care patients should seek.
Potential risks to be aware of include:
Mild irritation of the ear canal skin, which usually resolves quickly.
Temporary discomfort, particularly if wax is tightly impacted.
Minor bleeding from delicate skin if there is pre-existing skin sensitivity.
Incomplete removal in very complex cases, requiring a follow-up appointment.
Risk of trauma if performed by someone without adequate training or equipment.
There are also clear situations where instrumentation is preferred over other methods:
When the eardrum cannot be visualised and irrigation carries too much risk.
When wax is too dry and hard for microsuction alone to be effective.
When a child has impacted wax that has not responded to softening agents.
When a patient needs urgent clearance and cannot wait for prolonged softening.
“Evidence from systematic reviews consistently shows that mechanical ear wax removal, when carried out under direct visualisation by a trained clinician, carries minimal serious risk. The key variables are operator skill and appropriate patient selection.” — Clinical Practice Guidelines: Cerumen Impaction
For parents specifically, the safety protocols every parent should know are worth reviewing before bringing a child to any ear clinic. Understanding the advantages of microsuction and when microsuction vs irrigation for children is the better choice will also help you make an informed decision alongside your specialist.
Our take: What most patients misunderstand about ear instrumentation
Having spent considerable time with patients across Glasgow and Edinburgh, the most common misunderstanding we encounter is this: people think ear instrumentation is simple. They see a small metal tool, assume it works like a spoon, and wonder why they cannot do the same thing at home. This thinking is genuinely dangerous.
Professional ear instrumentation requires a combination of precise anatomical knowledge, clinical assessment skills, and procedural experience that takes years to develop. The ear canal is not a straight tube. It curves, varies in width, and sits millimetres from the eardrum, a delicate membrane that is easily damaged. Without an otoscope, proper lighting, and trained hands, you simply cannot see what you are doing. That is not an exaggeration.
We have also noticed that patients sometimes seek out non-specialist providers, drawn in by lower costs or convenience, without checking whether those providers are regulated. In Scotland, very few clinics are formally registered with Healthcare Improvement Scotland and authorised to treat patients from as young as two years of age. Regulation is not bureaucracy. It is what stands between a patient and real harm.
The risks associated with microsuction and instrumentation are genuinely low when care is delivered by the right people, in the right setting, with the right equipment. But “right” in this context means regulated, trained, and protocol-driven. That standard should not be optional.
Pro Tip: Before any ear procedure, ask your clinician about their registration body, which clinical guidelines they follow, and how long they have been performing the procedure. A good clinician will welcome the question.
“Most patients are genuinely surprised by how much specialist knowledge is involved in safe ear care. It is only when you understand the anatomy and the risks that you realise how important clinical standards truly are.”
Professional ear care in Glasgow and Edinburgh: Your next steps
If you have been experiencing blocked ears, muffled hearing, or discomfort from wax build-up, professional care is the safest and most effective route to relief.

At EARS Clinics, we offer NHS-accredited, Healthcare Improvement Scotland registered ear wax removal across Glasgow and Edinburgh, performed by trained Aural Care Specialists. Our ear wax removal procedures include microsuction, irrigation, and instrumentation, tailored to each patient’s clinical needs. Appointments start from £60 for adults and £75 for under-18s, with same-day and home visit options available at £180. Whether you need urgent care, support for a child’s ear health, or simply want to avoid lengthy NHS waiting times, we are here to help. Explore our services or book directly through the website. You can also learn more about professional training via our microsuction half-day course page if you are a healthcare professional seeking to expand your skills.
Frequently asked questions
Is ear instrumentation painful?
Ear instrumentation should not be painful when performed by a trained specialist, though mild irritation is possible in some cases, particularly when wax is tightly impacted. Most patients find the procedure well tolerated and are comfortable throughout.
Who should avoid ear instrumentation?
Patients with recent ear surgery, active ear infections, or a known perforated eardrum should avoid instrumentation and discuss alternatives with a specialist. Pre-assessment before treatment is always essential to identify these contraindications safely.
Can I use ear instrumentation tools at home?
It is strongly discouraged to use these tools without clinical training. Improper technique causes trauma to the ear canal or eardrum, and without direct visualisation, you cannot safely guide any instrument inside the ear.
Is ear instrumentation different from microsuction or irrigation?
Yes, each method works differently. Instrumentation uses manual tools to physically remove wax, microsuction applies gentle suction, and irrigation uses controlled water. Each is chosen based on the patient’s wax type and clinical history.
Are there special considerations for children’s ear instrumentation?
Children require a specialist approach, with gentler techniques and careful patient selection. Manual instrumentation in children is safe when performed by an expert, particularly for impacted wax cases, and should always follow age-appropriate safety protocols.
Recommended