
How to remove earwax from your ear safely
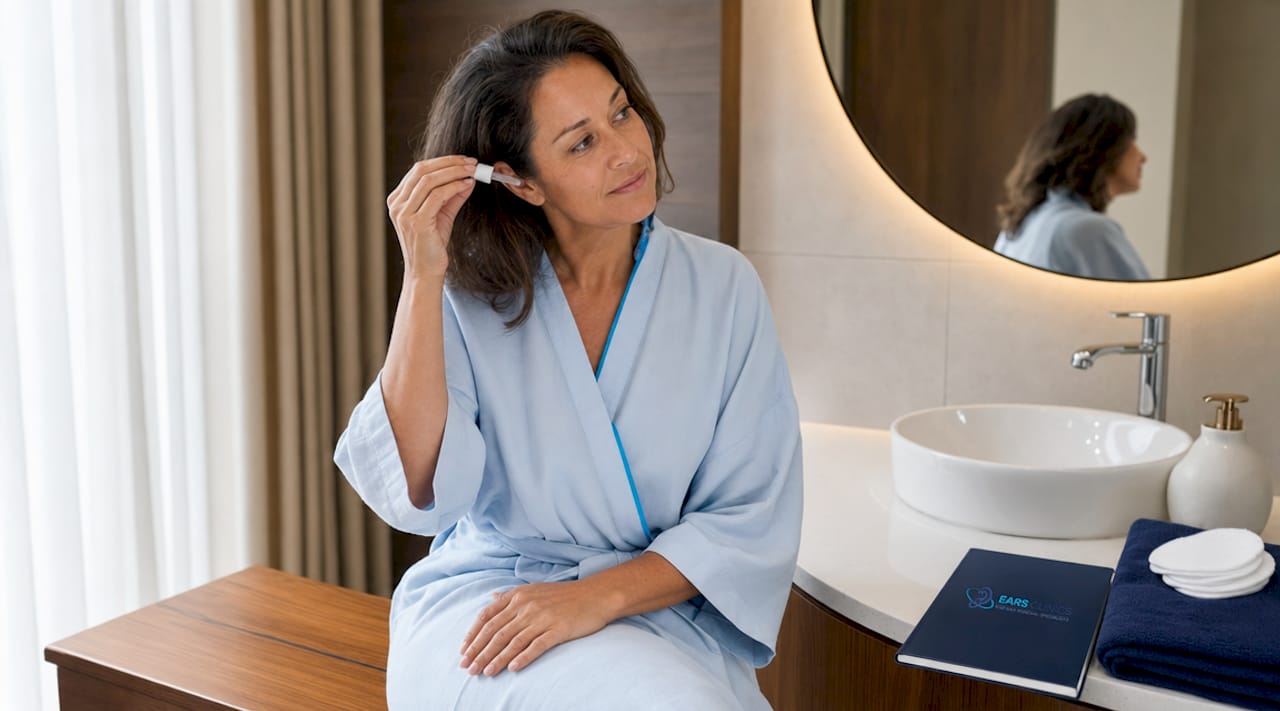
TL;DR:
Earwax is a natural, protective substance that usually does not need removal unless it causes symptoms like hearing loss or fullness. Safe removal involves softening the wax with approved agents and using gentle irrigation or professional methods when necessary. Cotton swabs and ear candling should be avoided, and professional care is essential for complicated cases or persistent symptoms.
Earwax, known clinically as cerumen, is a natural substance produced by the ear canal to protect against dust, bacteria, and debris. Knowing how to remove earwax from your ear safely means understanding when home care is appropriate and when professional treatment is the right choice. Most people never need to clean inside their ears at all. When wax does build up and cause symptoms, softening agents like mineral oil, glycerin, or hydrogen peroxide are the safest starting point. If those methods fail, clinically trained specialists using microsuction, irrigation, or manual instrumentation can resolve the blockage quickly and without risk.
What is earwax and why does it sometimes need removing?
Earwax is antibacterial and protective by design. The ear canal produces it continuously to trap foreign particles and prevent infection. In most people, the jaw’s natural movement during chewing and talking gradually moves old wax out of the canal on its own. Cleaning the inside of the ear is usually unnecessary unless wax accumulates to the point of causing symptoms.
Certain factors make excessive build-up more likely:
Narrow or unusually shaped ear canals, which slow the natural migration of wax
Overproduction of cerumen, which can be hereditary or related to skin conditions
Regular use of hearing aids or earphones, which block the outward movement of wax
Cotton swab use, which pushes wax deeper into the canal rather than removing it
Age, as wax becomes drier and harder to shift naturally in older adults
When wax accumulates beyond the ear’s self-cleaning capacity, it can form a blockage called cerumen impaction. The symptoms are recognisable: muffled or reduced hearing, a sensation of fullness in the ear, mild earache, tinnitus (ringing), or occasional dizziness. These symptoms indicate that removal is genuinely needed, and that is the point at which safe, targeted action makes a real difference.
How to remove earwax from your ear at home: step-by-step methods
Safe home care for earwax centres on softening the wax first, then allowing it to drain naturally or flushing it out gently. Attempting to dig or scrape wax out without softening it first is the most common cause of self-inflicted ear injury.
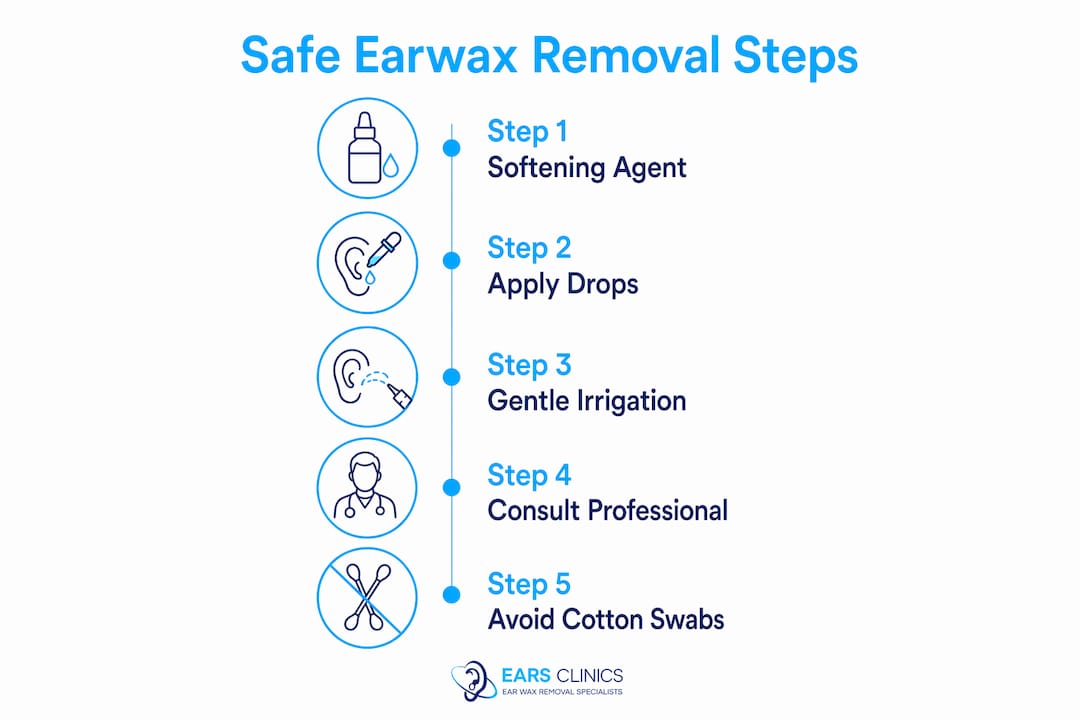
Step 1: Choose a safe softening agent
Safe softening agents include mineral oil, baby oil, glycerin, and hydrogen peroxide (typically at a 3% concentration). All four are widely available and clinically recognised for home use. Proprietary ear drops such as Otex or Earol olive oil spray are also effective and formulated specifically for this purpose.
Softening agent | Application tip | Precaution |
Mineral oil | 2-3 drops, tilt head for 5-10 minutes | Avoid if skin is broken or irritated |
Baby oil | Warm slightly before use for comfort | Do not use if ear infection is suspected |
Glycerin | Use undiluted, 2-3 drops per session | Short-term use only; can irritate skin with prolonged use |
Hydrogen peroxide (3%) | Dilute 1:1 with water; expect mild fizzing | Do not use if eardrum perforation is possible |
Olive oil (Earol spray) | One spray per ear, tilt head | Avoid in known olive oil allergy |
Step 2: Apply the drops correctly
Lie on your side with the affected ear facing upward. Place 2 to 3 drops of your chosen softener into the ear canal. Stay in that position for 5 to 10 minutes to allow the solution to penetrate and soften the wax. Repeat this process once or twice daily for one to two days. Treatment over 1-2 days is generally sufficient for mild to moderate build-up.
Pro Tip: Apply your softening drops 10 to 15 minutes before showering. The warm water and steam from the shower help flush loosened wax out naturally, and any residual solution rinses away cleanly.
Step 3: Gentle irrigation if needed
Once the wax has been softened, gentle irrigation with lukewarm water can help clear the canal. Use a rubber bulb syringe or a purpose-made ear irrigation kit. Fill the syringe with water that is at or very close to body temperature (37°C). Tilt your head so the affected ear faces down, gently squeeze water into the canal, and allow it to drain out. Never use cold or hot water. Water temperature during irrigation must be at body temperature to prevent dizziness caused by stimulation of the inner ear’s balance organs.

Stop immediately if you experience pain, increased hearing loss, or dizziness during the process. These are signs that home treatment is not appropriate and that professional assessment is needed.
When to see a professional for earwax removal
Home remedies for earwax work well in straightforward cases, but there are clear situations where professional care is not just preferable. It is necessary.
You should not attempt home irrigation if any of the following apply:
History of ear surgery or a perforated eardrum. Irrigation is contraindicated in patients with eardrum perforation, as water entering the middle ear can cause serious infection.
Diabetes or a compromised immune system, which increase the risk of ear canal infections following irrigation.
Use of blood-thinning medication, which raises the risk of bleeding if the canal is inadvertently irritated.
Active ear infection, characterised by discharge, severe pain, or fever.
Symptoms persisting beyond two days of home softening, which suggests impaction that requires clinical tools to resolve safely.
“Professional removal uses tools under direct visualisation. Practitioners select the removal method based on patient history and symptoms, ensuring the safest and most appropriate care for each individual.” — EARS Clinics
Clinical removal methods include three main approaches. Microsuction is preferred per current NICE guidelines. It uses a fine, low-pressure suction device under microscopic or loupe magnification to remove wax precisely and without introducing any fluid into the canal. Irrigation (also called ear syringing) uses a controlled stream of body-temperature water to flush wax free and is appropriate for patients without the contraindications listed above. Manual instrumentation uses small, specialised instruments such as a Jobson Horne probe or a curette to dislodge and extract wax under direct vision. Professionals use curettes and suction devices for safe and faster removal of impacted wax that home methods cannot shift. The choice between these methods is always made by the clinician based on the patient’s medical history and clinical presentation, not patient preference alone.
Common mistakes and safety tips for earwax removal
The most damaging earwax removal mistake is also the most common. Cotton swabs push wax deeper into the canal, compacting it against the eardrum and causing impaction that would not have occurred otherwise. The majority of self-induced earwax problems are directly linked to cotton swab misuse. They are designed for the outer ear only and should never be inserted into the canal.
Ear candling is the other method to avoid entirely. Ear candling is ineffective and poses genuine risks including burns to the face and ear canal, blockage from candle wax dripping into the ear, and eardrum damage. No credible clinical evidence supports its use, and it is not recommended by any regulated healthcare body.
Additional safety points worth following:
Confirm there is no history of eardrum perforation before attempting any irrigation at home.
Do not insert hairpins, pen lids, or any other objects into the ear canal under any circumstances.
If symptoms persist after one to two days of home softening, stop and seek professional advice rather than escalating home treatment.
Clean only the outer ear (the visible part) with a damp cloth as part of regular hygiene. The ear canal cleans itself and does not require routine internal cleaning.
If you wear hearing aids, speak to your audiologist or an ear care specialist about a regular maintenance schedule, as hearing aid users are significantly more prone to wax build-up.
Pro Tip: If you are prone to recurrent wax build-up, using two to three drops of olive oil in each ear once a week as a preventive measure can keep wax soft and easier for the ear to expel naturally.
Key takeaways
Safe earwax removal requires softening wax with approved agents first, using irrigation only when there is no eardrum perforation, and seeking professional microsuction or instrumentation when home methods fail or are contraindicated.
Point | Details |
Earwax is protective | Removal is only needed when symptoms like hearing loss, pain, or fullness occur. |
Approved softening agents | Mineral oil, baby oil, glycerin, and hydrogen peroxide are safe for home use for 1-2 days. |
Irrigation requires caution | Never irrigate if there is a perforated eardrum, ear surgery history, or active infection. |
Cotton swabs cause harm | Inserting swabs into the canal compacts wax and risks eardrum damage. |
Professional care is the safest option | Microsuction, irrigation, and manual instrumentation are performed under direct visualisation by trained clinicians. |
Our view on earwax care: what we see every day
One of the most persistent misconceptions we encounter is that earwax is dirty and must be removed regularly. It is not. Cerumen is a sophisticated, self-renewing protective barrier, and the ear’s self-cleaning mechanism is genuinely effective for most people most of the time. The patients who arrive at our clinics with the most severe impactions are, more often than not, the ones who have been cleaning their ears most diligently with cotton swabs for years.
Home remedies can and do work well for mild build-up. Olive oil, mineral oil, and glycerin are legitimate tools when used correctly and for a short period. Where we see problems arise is when people persist with home treatment beyond two days, or attempt irrigation without first confirming their eardrum is intact. That is when minor discomfort can become a genuine clinical problem.
Microsuction remains the gold-standard procedure in our view, and the NICE guidelines reflect that. It is precise, dry, and performed under direct vision, which means the clinician can see exactly what they are doing at every stage. For patients with complex histories, including previous ear surgery, perforations, or recurrent infections, it is the only method we would consider. If your symptoms are not resolving at home, please do not wait. Early professional care is always safer and faster than prolonged self-treatment.
— EARS
Ready to get your hearing back to its best?
If home softening has not resolved your symptoms, or if you have any of the contraindications that make home treatment unsuitable, EARS Clinics offers professional earwax removal at clinics in Glasgow and Edinburgh.

EARS Clinics is registered with Healthcare Improvement Scotland (HIS) and staffed by NHS-accredited Aural Care Specialists who select the safest removal method for each patient. Whether you need microsuction, irrigation, or manual instrumentation, you can find out about all available earwax removal procedures and book an appointment online. Clinic appointments start from £60 for adults and £75 for under-18s, with home visits available at £180. Same-day appointments are often available, with no pre-treatment softening required as a condition of booking.
FAQ
What is the safest way to remove earwax at home?
The safest home method is to apply 2 to 3 drops of mineral oil, baby oil, glycerin, or hydrogen peroxide into the ear canal and leave it for 5 to 10 minutes, once or twice daily for one to two days. Follow with gentle lukewarm water irrigation using a bulb syringe if needed, provided there is no history of eardrum perforation.
Is earwax removal safe for everyone?
Earwax removal is safe for most people, but irrigation is contraindicated for those with a perforated eardrum, ear surgery history, diabetes, immune conditions, or those taking blood thinners. In these cases, professional microsuction or manual instrumentation performed by a trained clinician is the appropriate route.
Can cotton swabs be used to clean earwax?
Cotton swabs should not be inserted into the ear canal. They push wax deeper, causing compaction and potential eardrum damage. They are safe only for cleaning the visible outer ear.
When should I see a professional instead of treating at home?
See a professional if symptoms persist after one to two days of home softening, if you have any contraindications to irrigation, or if you experience pain, discharge, or significant hearing loss. A trained clinician can assess the ear using an otoscope and select the most appropriate removal method.
What does professional earwax removal involve?
Professional removal uses microsuction, irrigation, or manual instrumentation, all performed under direct visualisation. Microsuction is the method preferred by current NICE guidelines and is suitable for most patients, including those with complex ear histories. You can learn more about all removal methods and what to expect at your appointment.
Recommended